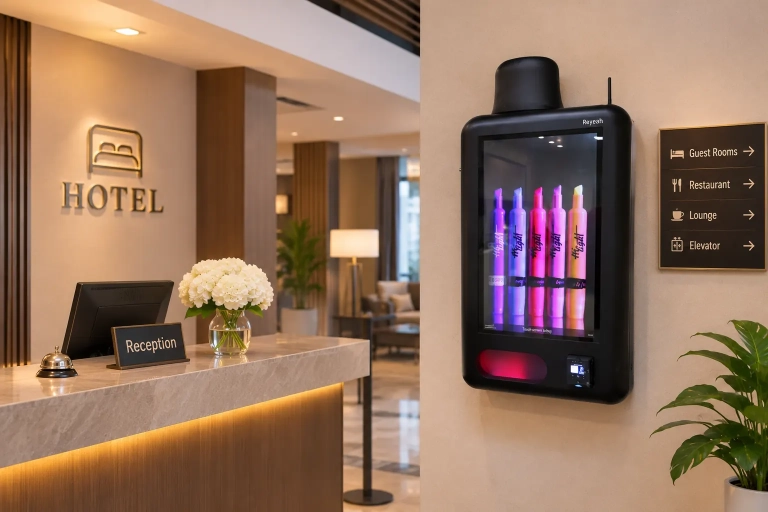
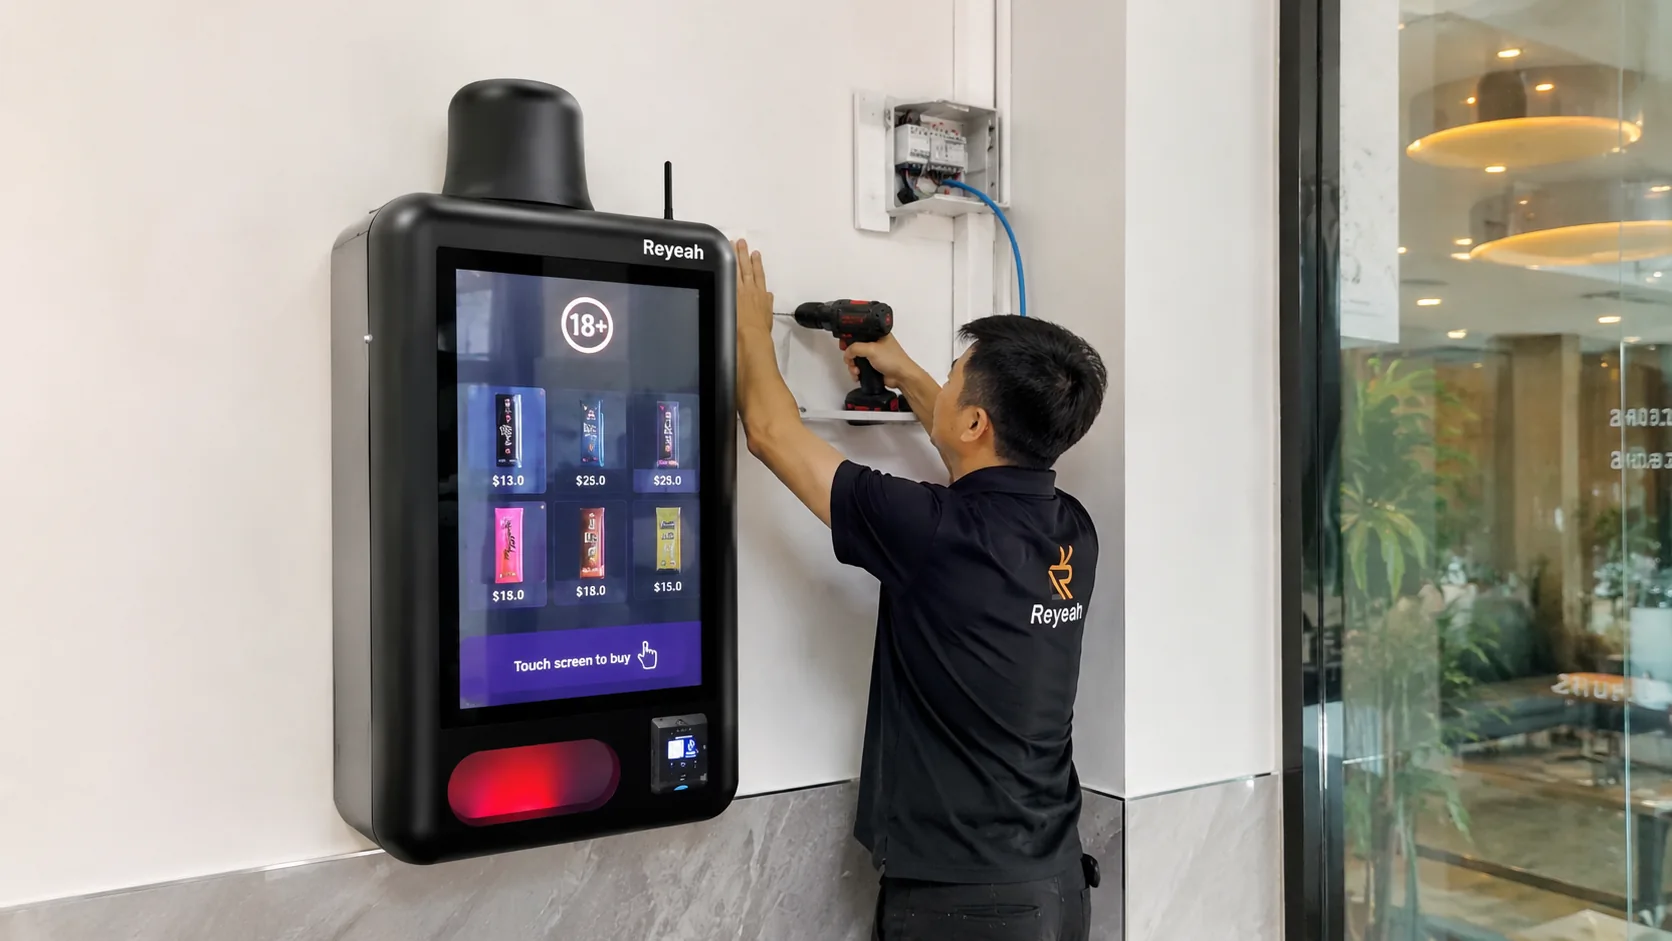
A wall-mounted vending machine saves floor space only when the wall, mounting system and service access have been planned together. Use this wall-mounted vending machine installation checklist to organize the site survey, delivery, mounting and commissioning before the first customer makes a purchase.
Installation starts before the machine arrives. The supplier needs accurate site information, the installer needs the correct mounting documents, and the operator needs a clear handover. A cabinet that fits the available wall can still be unsuitable if its door cannot open fully or the payment terminal loses its connection.
This checklist is a planning and acceptance tool. Use the installation manual for the exact machine and mounting system for the working procedure. Structural fixing and electrical work should be handled by appropriately qualified people, with site requirements agreed before installation day.
1. Confirm the machine and installation documents
Match the installation plan to the model and configuration actually supplied. A change in cabinet depth, payment equipment or product capacity may affect the space and support required.
- Record the model, cabinet dimensions, empty weight and maximum operating weight, including stock and fitted accessories.
- Obtain the current installation manual, mounting drawing, bracket specification and fixing requirements.
- Confirm whether the bracket and fasteners are included, and which items the site installer must provide.
- Check the power supply, operating environment, ventilation clearances and network requirements.
- Agree who will survey the wall, install the mounting system, connect power and complete commissioning.
Browse Reyeah’s wall-mounted vending machine solutions to compare possible formats, then request installation information for the proposed configuration. Product photographs are useful for planning appearance, but they do not replace a mounting drawing.
2. Check the wall and the complete mounting system
Identify the supporting structure behind the wall finish. Tile, plasterboard or decorative cladding alone does not establish that a location can support the machine. Have the installer assess the wall construction, condition and the proposed load path into the structure.
- Identify the structural material and any cavity, lining or insulation between the cabinet and the supporting wall.
- Confirm that the wall, bracket and fixings are suitable for the loaded machine and the forces associated with normal operation and servicing.
- Have the appropriate professional review uncertain substrates, damaged walls or any proposed reinforcement.
- Check the intended fixing locations for concealed utilities and structural restrictions before drilling.
- Confirm the anchor specification and installation instructions for the actual substrate and bracket layout.
3. Measure customer access and service clearance
Mark the full cabinet outline at the proposed position and review it with the door open. Include the space occupied by a customer using the screen, paying and collecting a product.
- Check the screen, payment terminal and collection opening at the proposed mounting height.
- Review approach space, reach and protrusion against applicable accessibility requirements for the location.
- Keep required circulation and escape routes clear.
- Allow the service door to open as specified and leave access to locks, stock channels and replaceable components.
- Provide the ventilation clearances required by the model, including clearance from surrounding furniture or signage.
- Check for nearby doors, luggage traffic, cleaning equipment and other likely sources of impact.
For hotels, consider the installation during a late arrival as well as a quiet daytime survey. Guests may be carrying bags, and lights or operating noise may affect nearby rooms. Our guide to small vending machines for hotels and guesthouses covers product selection and daily operation in these settings.
4. Prepare power, connectivity and the environment
Read the machine’s electrical requirements rather than assuming that an available socket is suitable. Have a qualified electrician check the supply and any required protective measures against the equipment instructions and local requirements.
- Confirm the rated voltage, frequency, power demand and connection type for the supplied unit.
- Plan cable routing so that wiring is protected from pinching, pulling, cleaning and customer contact.
- Keep the required means of electrical isolation accessible.
- Test the intended Wi-Fi, wired network or mobile connection at the machine’s final position.
- Check whether guest-network login screens, firewalls or managed network policies affect connectivity.
- Confirm that temperature, humidity and exposure are within the equipment’s stated limits.
A sheltered position is not automatically suitable for outdoor use. Verify the complete configuration’s environmental suitability, including its screen, payment equipment, cable entries and mounting hardware. Request written confirmation for the intended site conditions.
5. Plan delivery, inspection and lifting
Before delivery, check the route from the unloading point to the installation wall. Packaging, handling equipment and turning space can require more room than the unpacked cabinet.
- Measure doorways, corridors, stairs and lifts along the delivery route.
- Agree on unloading access, handling equipment and a lifting plan appropriate to the unit.
- Inspect the shipment for damage and record the condition before installation.
- Check the bracket, keys, cables, accessories and documents against the packing list.
- Protect the work area and keep customers away during mounting.
Follow the supplier’s handling instructions and use the designated lifting or support points. Screens, service doors and collection openings should not be treated as lifting handles unless the manufacturer specifically permits it.
6. Install and record the mounting work
The installer should follow the approved mounting design and the equipment and fixing manufacturers’ procedures. If the actual wall differs from the survey, resolve the difference before loading the mounting system.
- Verify the bracket position and fixing layout against the approved drawing.
- Complete the specified fixing installation, including any required hole preparation, tightening or curing process.
- Record the fastener system used and any inspection or testing required by the design.
- Secure the cabinet with all specified locking and retaining components.
- Check alignment, door operation and cable routing before commissioning.
Do not substitute an improvised pull or shake test for a specified inspection. Any required proof testing should follow the agreed professional procedure. Photographs and installation records make later servicing easier, especially where fixings become concealed by the cabinet.
7. Commission products, payments and fault handling
A powered screen is only the start of commissioning. Load the approved products and test the complete purchase sequence using the payment system intended for customers.
| Check | Acceptance point |
|---|---|
| Product selection | Names, variants, quantities and prices match the loaded items. |
| Dispensing | The correct item reaches the collection area in acceptable condition using the agreed test procedure. |
| Payment | Approved payment methods work, and the operator can identify the transaction. |
| Failed purchase | Declines and delivery faults produce the expected messages and a defined support process. |
| Connectivity and reporting | Included reporting functions work, and staff understand how stock counts and alerts are generated. |
| Service access | Staff can unlock, refill, clean and close the machine using the documented routine. |
Include full channels, partly depleted channels and the final item in dispensing checks. Use the actual retail packaging, not a similar-sized sample. Agree with the supplier how to test network interruptions and power recovery without interrupting live customer transactions or leaving uncertain charges unresolved.
8. Complete the handover before opening for sales
Assign ownership of the machine’s day-to-day operation. The team handling refunds may differ from the team holding the service key, so both need the relevant instructions.
- Record the machine serial number, installation date, installer and support contacts.
- Hand over keys, manuals, warranty terms and the mounting and commissioning records.
- Transfer the necessary operator accounts and review access permissions.
- Train staff on refilling, cleaning, fault reporting and customer assistance.
- Display clear purchase instructions and an appropriate help contact.
- Agree on inspections and maintenance using the supplier’s schedule and site conditions.
During early operation, review failed vends, stock discrepancies, customer questions and signs of movement or damage. If the mounting condition becomes uncertain, take the machine out of service and have it assessed before reopening it.
Frequently asked questions
Can a wall-mounted vending machine be installed on plasterboard?
The wall finish alone cannot answer that question. The supporting structure, reinforcement where needed, machine loads and complete fixing system must be assessed together. Ask the installer and supplier to approve a site-specific arrangement before installation.
What is the correct mounting height?
Use the model’s installation guidance and the accessibility requirements that apply to the site. Check the screen, payment device and collection point together, as well as service access. A single height is not appropriate for every cabinet or location.
Does the machine need Wi-Fi?
That depends on its payment and management configuration. Some systems use wired networks or mobile connectivity. Confirm the requirements and test the selected connection at the final mounting position.
Send a complete installation brief
To discuss a wall-mounted vending project, contact Reyeah with the destination country, wall photographs, known wall construction, available dimensions, intended products and preferred payment methods. Request the mounting drawing, operating weight, site requirements and commissioning procedure for the proposed configuration before scheduling the installation.